Whether you are part of a small research group or a large research team that spans multiple academic units, you can keep a presence for your group and keep members up to date with Queen's Research Discovery Network Groups
Managing Groups
Learn how to create and manage your Groups.
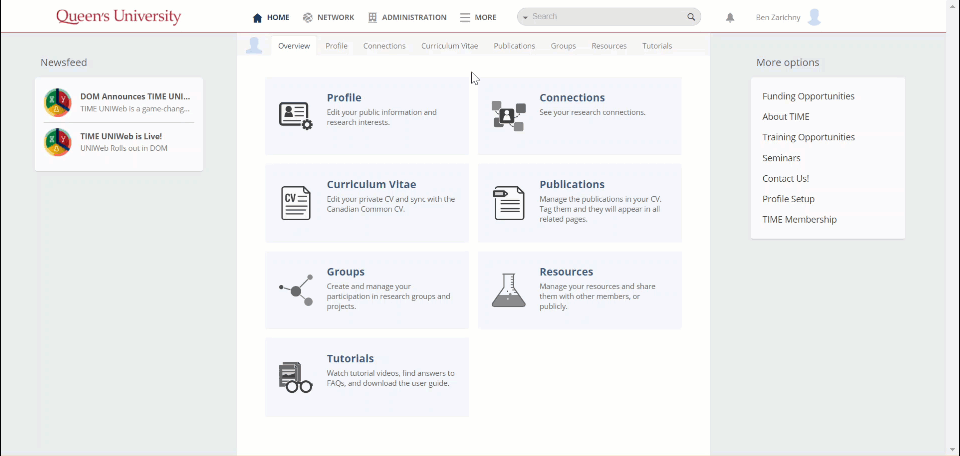
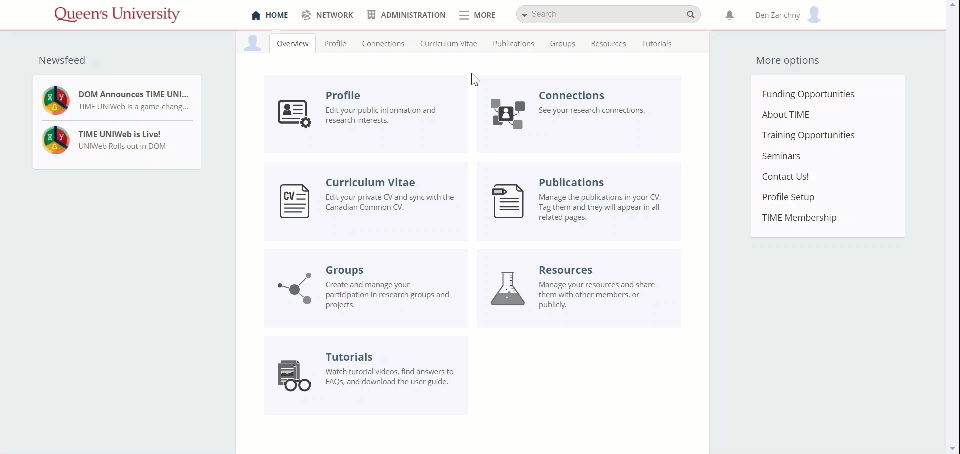
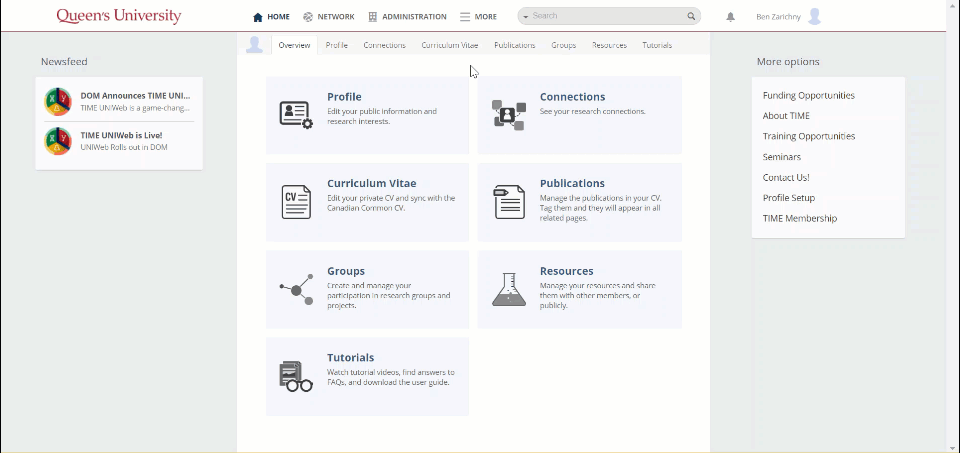
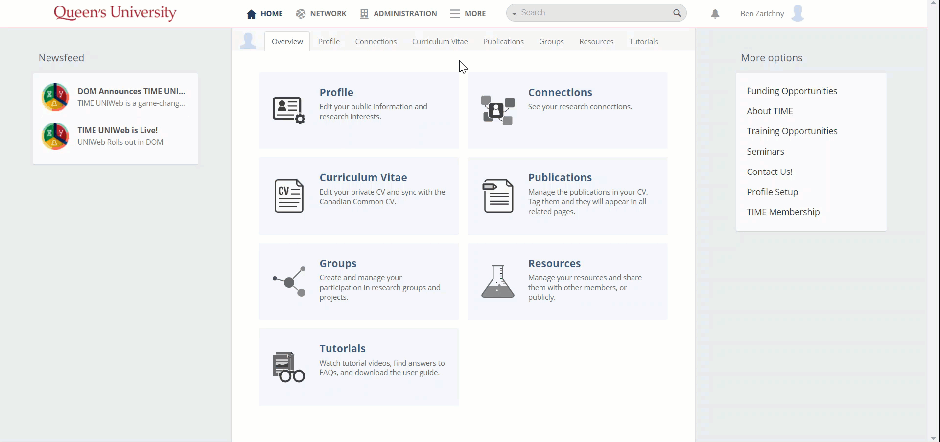
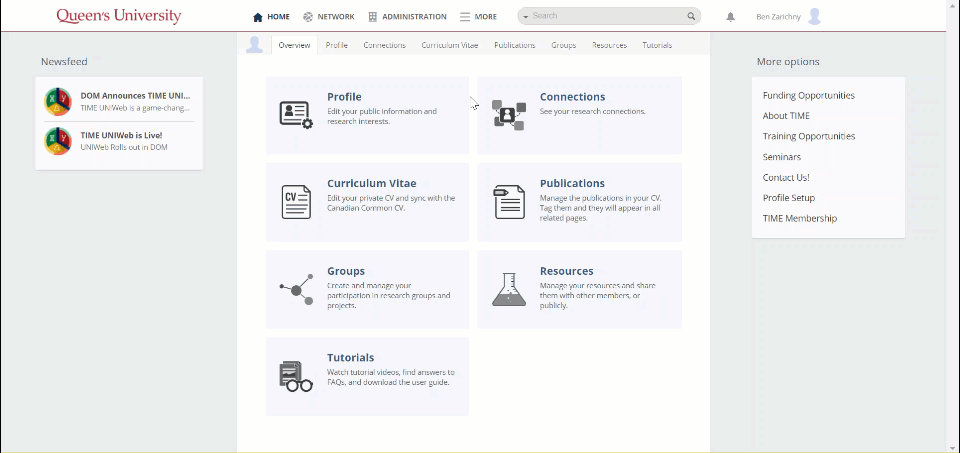
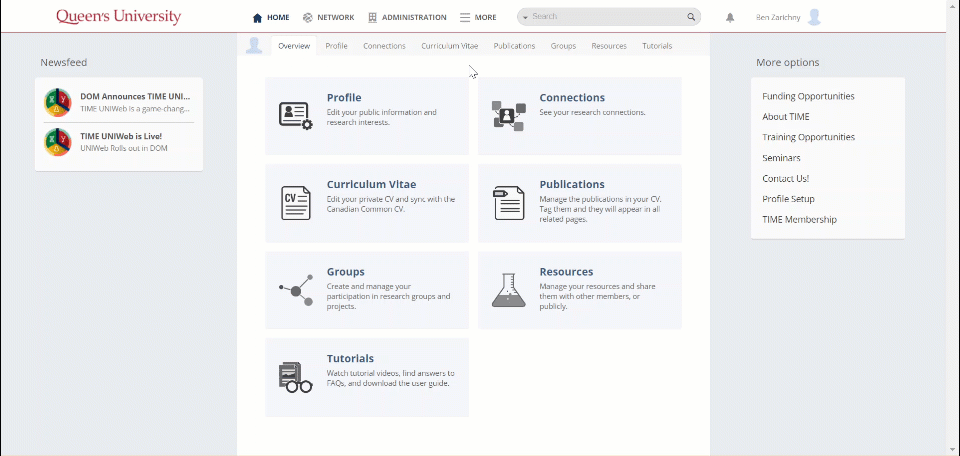
- From the Overview tab, select Groups.
- Click the “Add group” button.
- Enter your Group’s general information in the data entry form. Fields marked with an asterisk (*) are mandatory.
- Group Name: Enter the group’s full name (i.e., avoid initialisms/acronyms)
- Visibility: Select Everyone if you would like your group to be visible to the public; select Network if you would only like your group to be visible to Queen’s members who are logged in to the Queen's Research Discovery Network; select Hidden if you would like your group to be hidden to everyone.
- Homepage: Enter the URL of your group’s website, if applicable.
- Group Type: Group types are available as filters on the Groups page and can help visitors find the kinds of groups they are looking for. Select one of the following types for your group:
- Partnership project
- Research group
- Research lab
- Research project
- Study group
- Click Save.
- From the Overview tab, select Groups.
- In the centre panel, locate and click on the Group that you would like to edit. This will take you to the public profile of that Group.
- In the centre panel, under the Group's main heading, click Edit Profile. This will take you to the profile editor for that Group.
- In the centre panel, navigate to the group profile section that you would like to modify. Click the Edit button to the right of the section heading. You can edit the Group's general information by clicking the Edit button to the right of the Group's name.
- Add or edit information in the data entry form for the corresponding Group profile section as needed.
- Click Save.
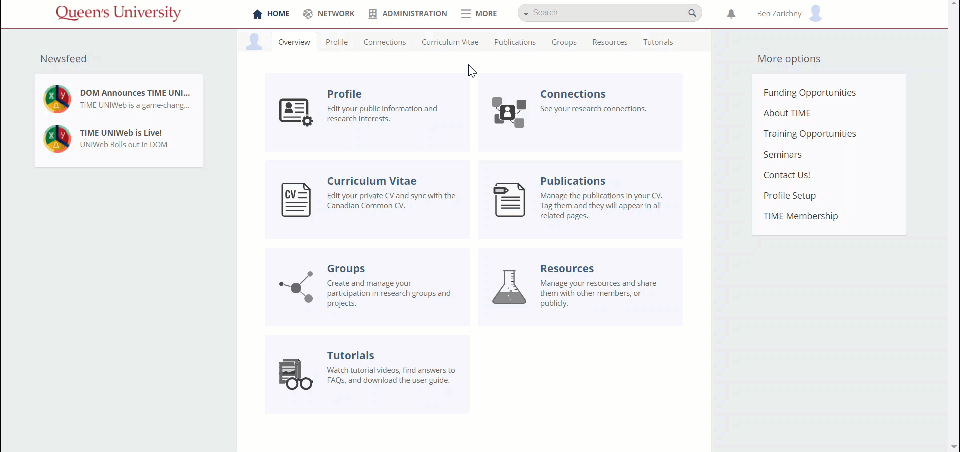
- From the Overview tab, select Groups
- In the centre panel, locate and click on the Group that you would like to edit. This will take you to the public profile of that Group.
- In the centre panel, under the Group's main heading, click Menu.
- In the dropdown menu, click Delete Group.
- In the Delete Group dialog, click Yes.
Note: Membership in Groups on the Queen's Research Discovery Network is limited to Queen’s faculty and staff.
- From the Overview tab, select Groups.
- In the centre panel, locate and click on the Group where you would like to add a member.
- In the centre panel, under the Group's main heading, click Menu.
- In the dropdown menu, click Add members.
- In the Add group member select the Queen’s member that you would like to add to your group, and click Add.
- If the person you would like to add to the Group does not appear in the dropdown list, this likely means they have not yet activated their Queen's Research Discovery Network account, which they can do simply by logging in to the system.
When you create a group, you become its default owner, allowing you to edit and update the group’s profile and membership. You can give other members of the group similar administrative access by making them a Group Administrator.
- From the Overview tab, select Groups.
- In the centre panel, locate and click on the Group where you would like to add an administrator.
- In the centre panel, under the Group's main heading, click Members.
- Hover your cursor over the group member to whom you would like to grant administrator access, and in the tooltip menu that appears, click Add to Administrators.
- In the Add to Administrators dialog, click Yes.
- From the Overview tab, select Groups.
- In the centre panel, locate and click on the Group where you would like to remove an administrator.
- In the centre panel, under the Group's main heading, click Members.
- Hover your cursor over the group member to whom you would like to grant administrator access, and in the tooltip menu that appears, click Remove from Administrators.
- In the Remove group admin dialog, click Yes.
- From the Overview tab, select Groups.
- In the centre panel, locate and click on the Group where you would like to hide a member.
- In the centre panel, under the Group's main heading, click Members.
- Hover your cursor over the group member to whom you would like to hide, and in the tooltip menu that appears, click Hide membership. To unhide a member, hover your cursor over the group member and click Show membership in the menu that appears.
- In the Hide membership? dialog, click Yes.
The group member will be hidden from the members list for visitors to the group, but will remain visible to group administrators, with a [hidden] tag next to their name.
- From the Overview tab, select Groups.
- In the centre panel, locate and click on the Group where you would like to remove a member. This will take you to the public profile of that Group.
- In the centre panel, under the Group's main heading, click Members.
- Hover your cursor over the group member to whom you would like to grant administrator access, and in the tooltip menu that appears, click Remove from group.
- In the Remove group member dialog, click Yes.

Note: You must be the owner of a Group in order to transfer ownership to someone else. Also, the person you are transferring ownership to must first be a member of the Group in question.
- From the Overview tab, select Groups.
- In the centre panel, locate and click on the Group that you would like to transfer to a new owner.
- In the centre panel, under the Group's main heading, click Members.
- Under Members, hover your cursor over your own name, and in the tooltip menu that appears, click Transfer ownership.
- In the Transfer Ownership dialog, select the Queen’s member you would like to transfer ownership to, then click the Send button. This member will receive a notification in their Queen's Research Discovery Network account, prompting them to Accept or Decline the transfer. Once they accept, the ownership will be transferred.