
These tutorials guide you through your first access to the Queen's Research Discovery Network and provide a general overview of your account.
Account Setup
Learn more about setting up your account upon your initial login to the Queen's Research Discovery Network.
Overview
Upon your first login to the Queen's Research Discovery Network, you will be taken through a series of steps to set up your account.
Logging In
- Navigate to queensu.ca/research/find-researchers.
- Click the LOGIN link and enter your Queen's NetID and password.

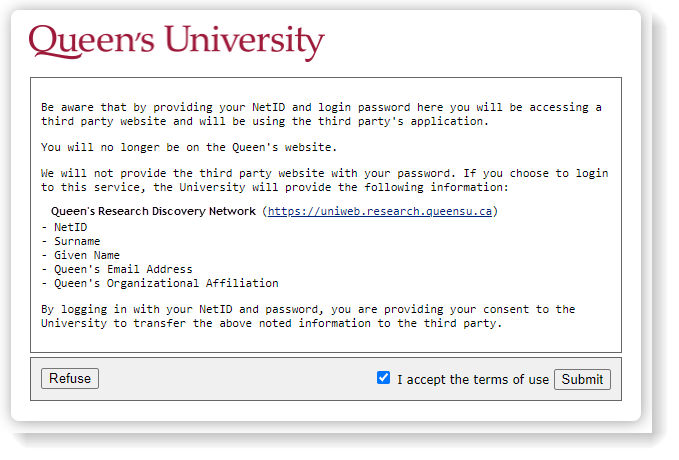
- You will now see a Queen's notification advising you of the information being passed to the third-party website (i.e., UNIWeb) - click the 'I accept...' checkbox and click Submit.
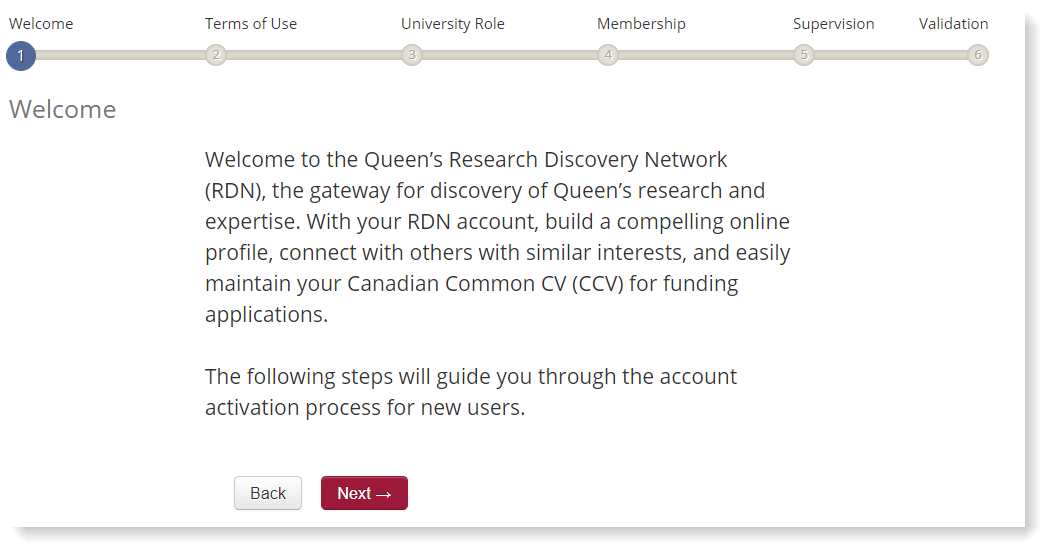
- Once logged in, you will see a general Welcome message, the first step in the account setup process. Click Next.
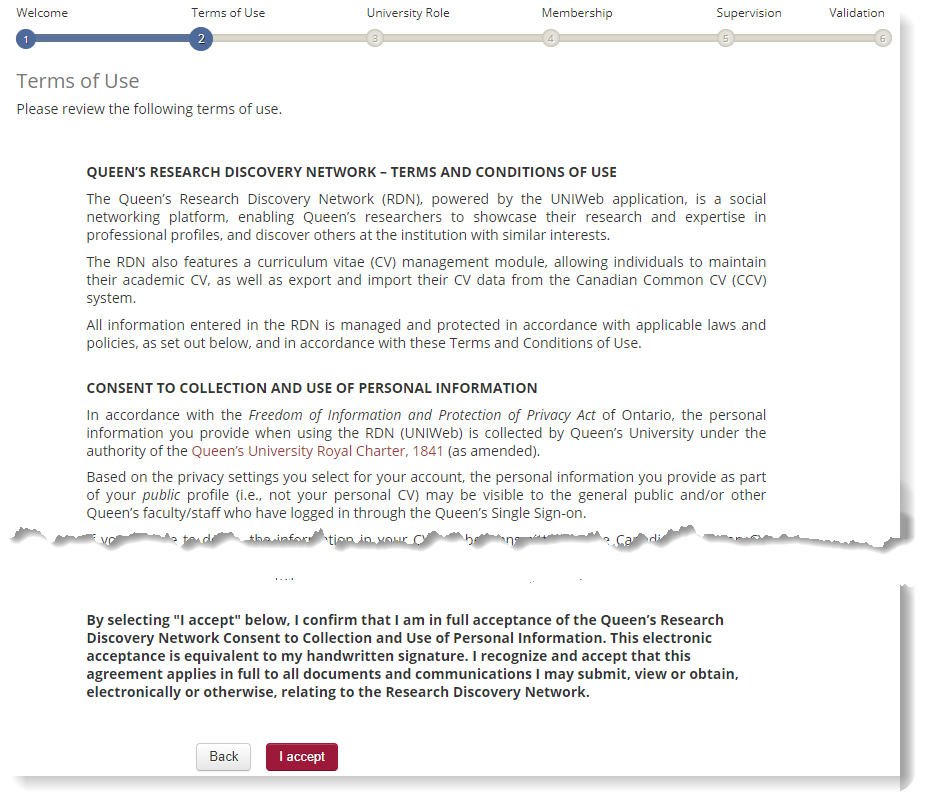
- Review the Terms of Use and click I accept to proceed.
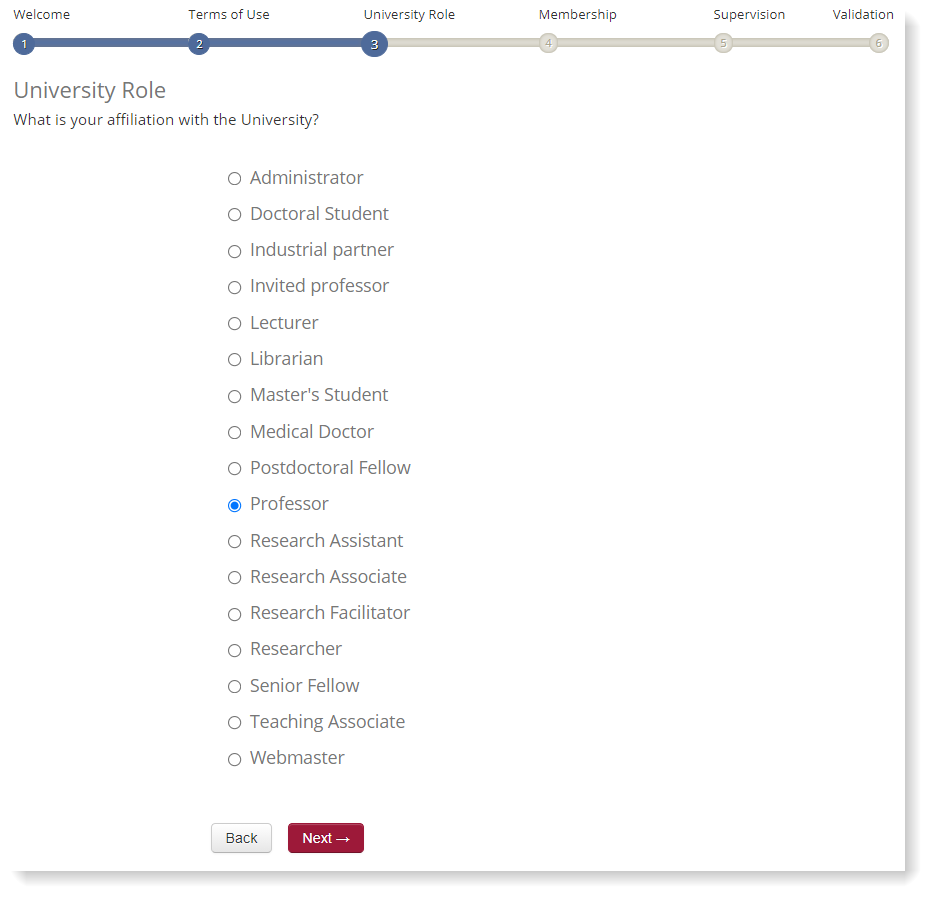
- You will now be asked to select your University Role - note that this represents a general Account Type in the system and is not your academic position (e.g., Assistant Professor), which will be set at the next step. If you are a faculty researcher, leave this set to Professor and click Next.
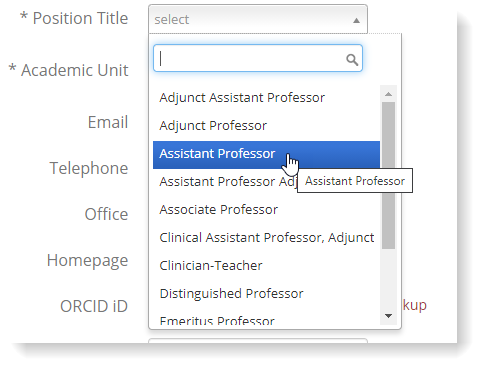
- At the Membership screen, select your Position Title from the dropdown list.
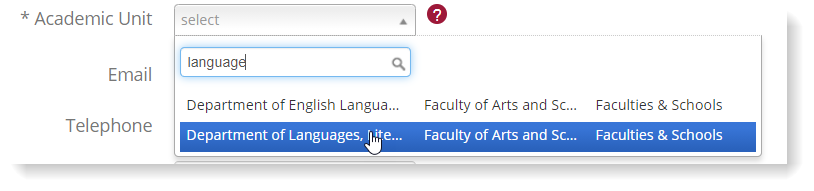
- From the Academic Unit dropdown list, select your primary academic appointment at Queen's (e.g., Department of Chemistry).
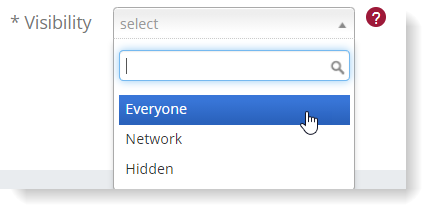
- At the Visibility field, set your preferred profile visibility: Everyone* (visible to the public); Network (visible only to logged-in users); Hidden (not visible to anybody)
*Note that selecting the Everyone option is recommended for maximum discoverability.
- Enter any other optional information (e.g., phone, office, ORCID ID, Google Scholar, etc.), then click Next.
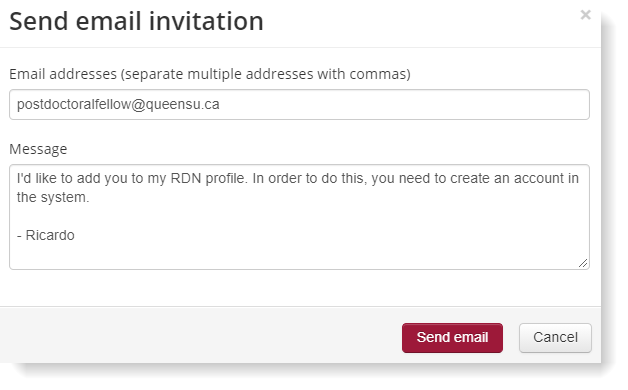
- If you are a faculty researcher (i.e., 'Professor' Account Type), you will be given the opportunity to invite your supervisees to the network; simply enter their email address, along with a brief invitation message, then click Send email, and the Queen's Research Discovery Network will send them an email invitation with instructions to create their account.
- This completes the initial login process - from here, you will be taken to your account Overview page.
Your Account
Learn what each tab from Overview - Groups does and how to use it. This page will also direct you to more detailed tutorials on each tab.
The Home page is the landing page when you log into your account. It has 9 tabs, with your landing tab being Overview.
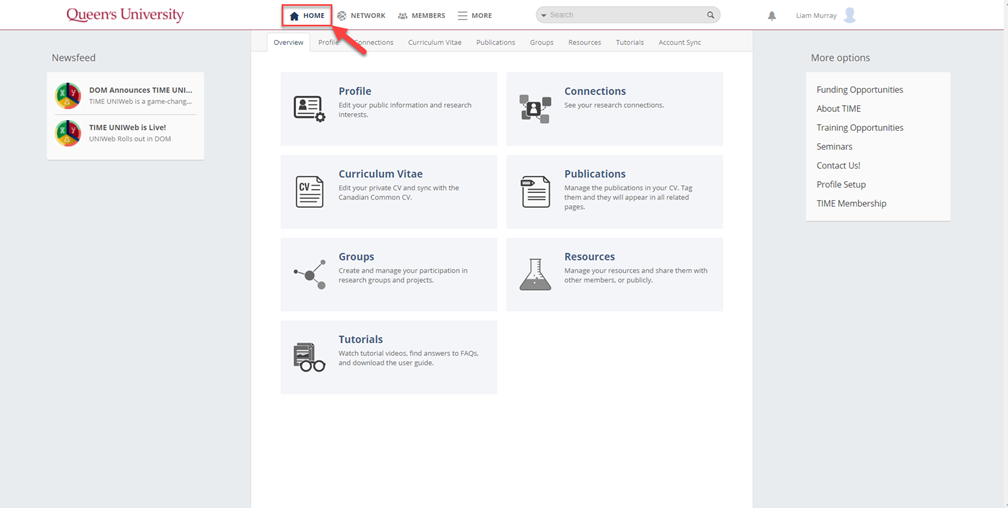
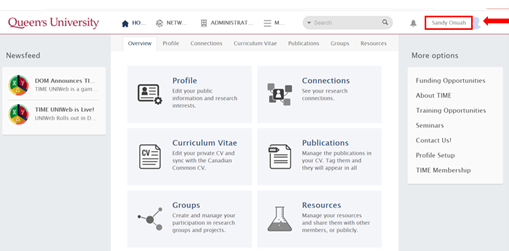
The Overview tab serves as your account dashboard. From here, you have access to your Profile, Connections, Curriculum Vitae, Publications, Groups, Resources and Tutorials.

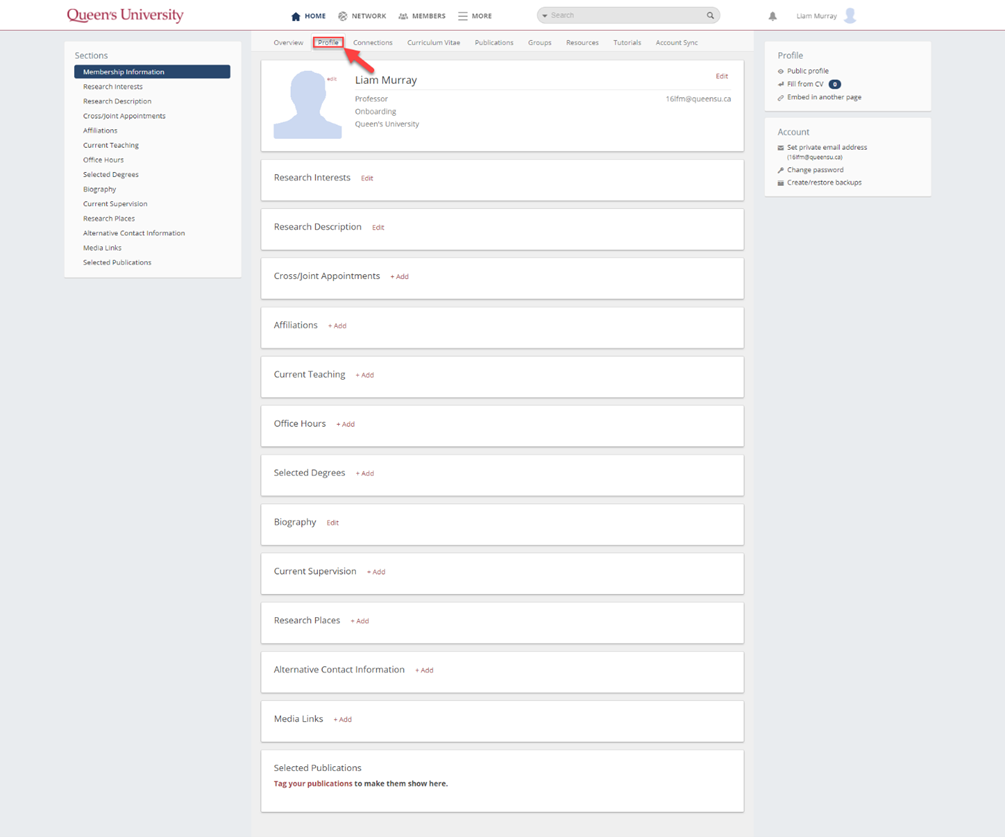
The Profile tab is your profile on the Queen's Research Discovery Network. You have access to edit any information about yourself and any research interests you want linked to your page. More information on this tab can be found in the Profile Page tutorial.
The Connections tab shows all connections you have with others at Queen's, based on your common research interests. Below is an example of a research connections map. More information on this tab can be found in the Profile Page tutorial. 
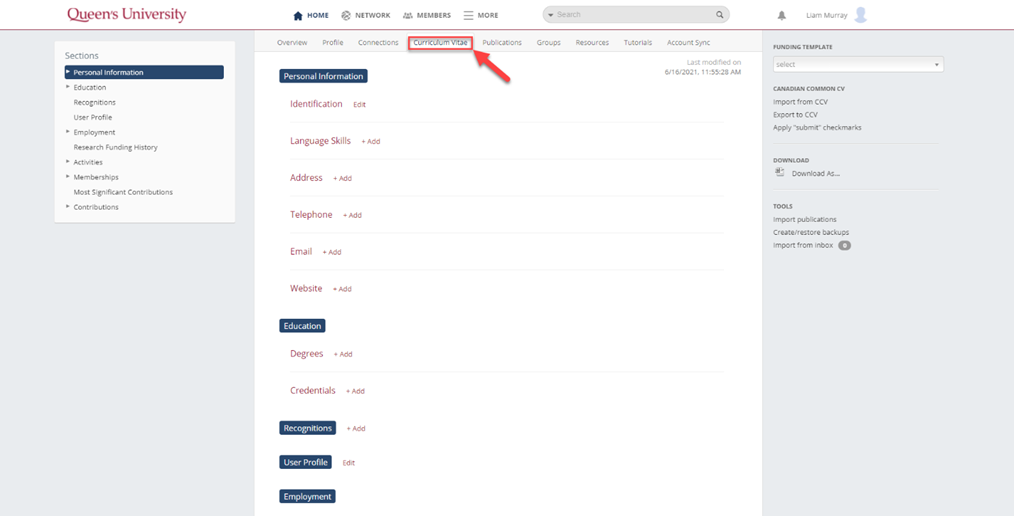
The Curriculum Vitae tab allows you to build or import your CV into the Queen's Research Discovery Network for easy access and management. More information on this tab can be found in the CV Management tutorial.
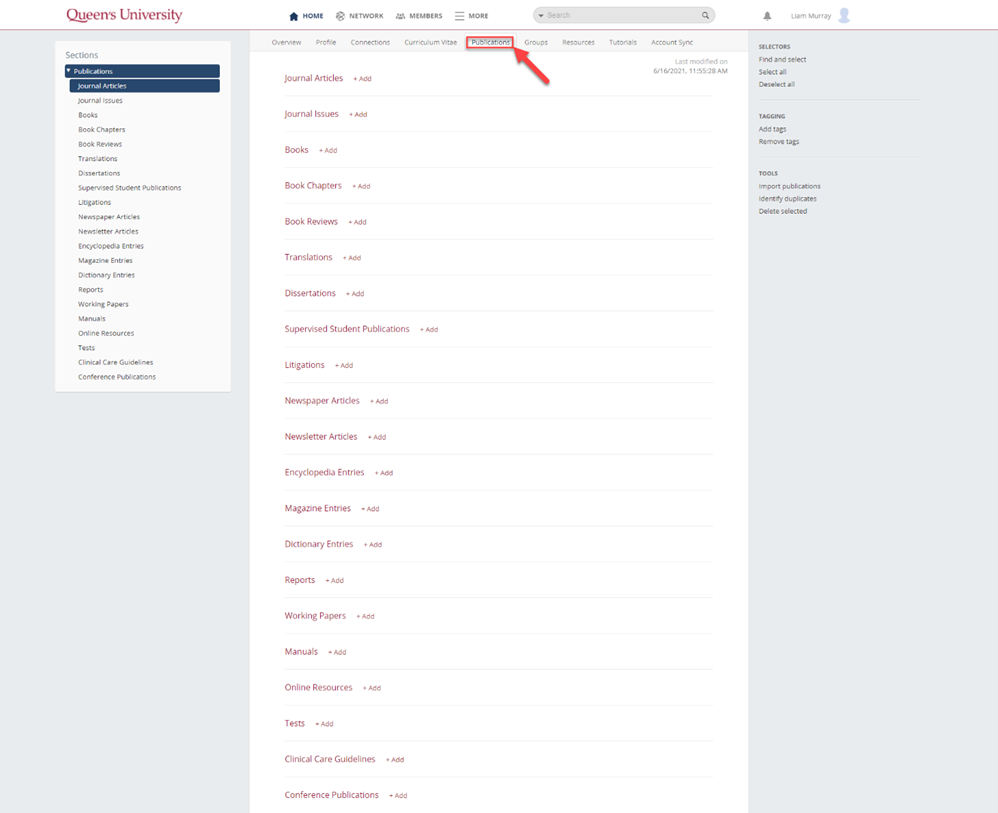
The Publications tab allows you to import and manage your publications. More information on this tab can be found in the CV Management Tutorial.
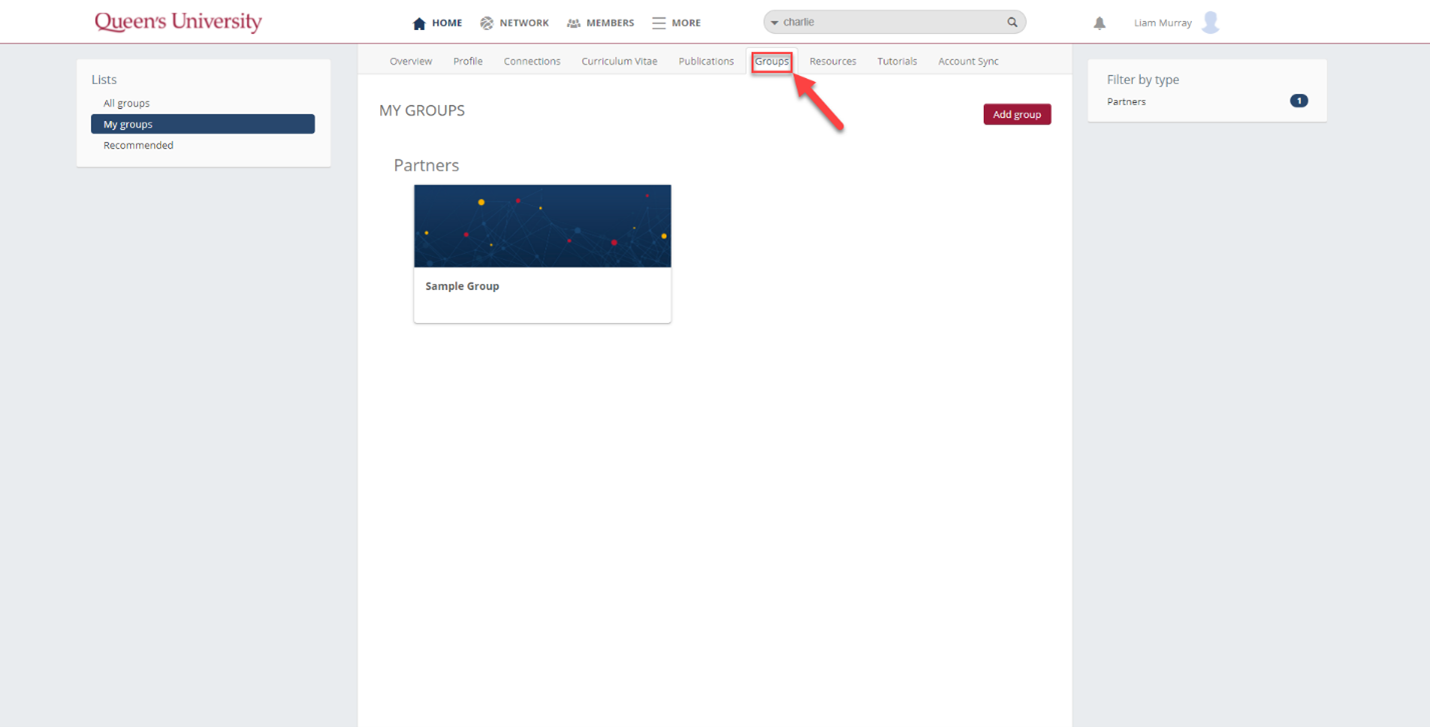
The Groups tab is where you can view the groups you are involved with on the Queen's Research Discovery Network. You can also view other groups that are recommended for you. More information on this tab can be found in the Groups page tutorial.
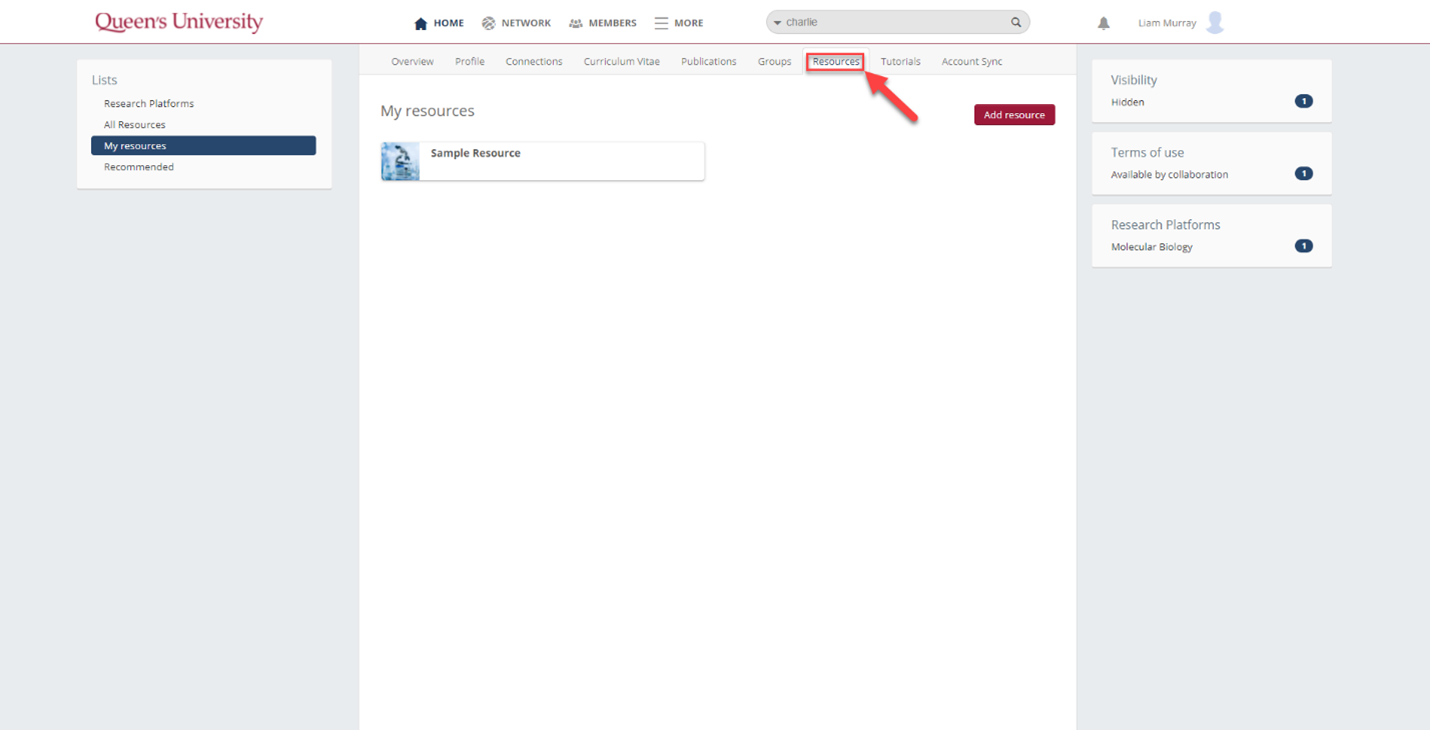
The Resources tab is where you can view the technology you own. You can also view other resources that are recommended for you based on your research interests. More information on this tab can be found in the Resources tutorial.
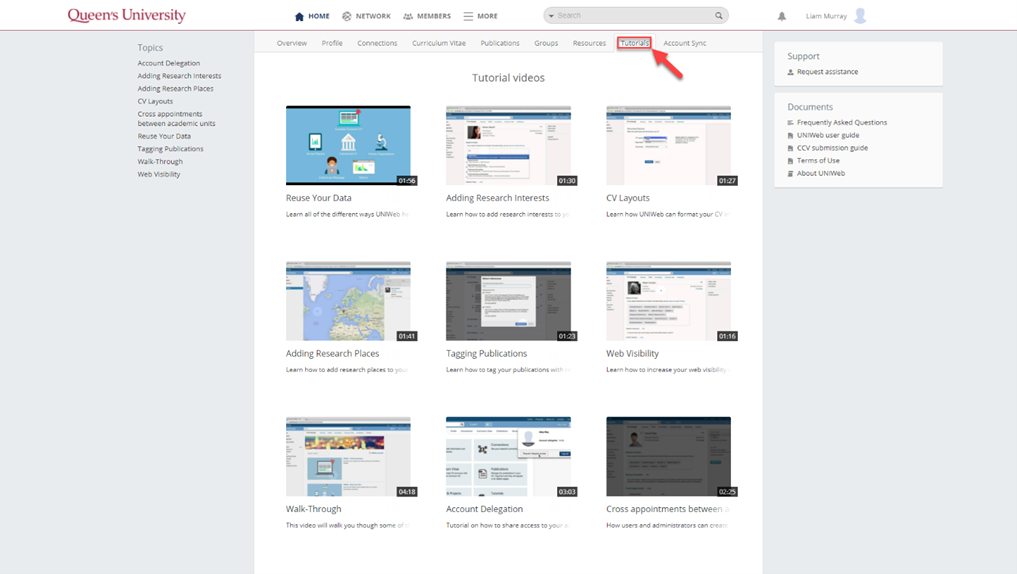
The Tutorials tab contains a growing selection of bite-sized video tutorials to help you get the most out of your Queen's Research Discovery Network account.
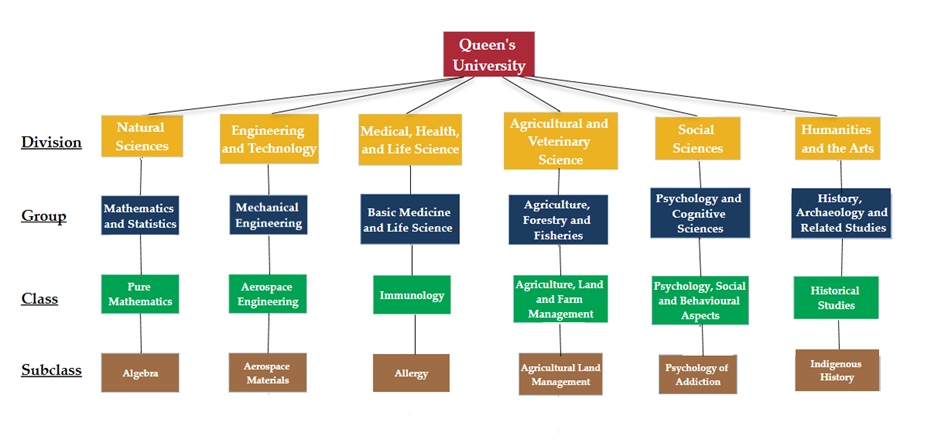
Research themes are classified according to the Canadian Research and Development Classification (CRDC) and are organized in a 4-level hierarchical framework.
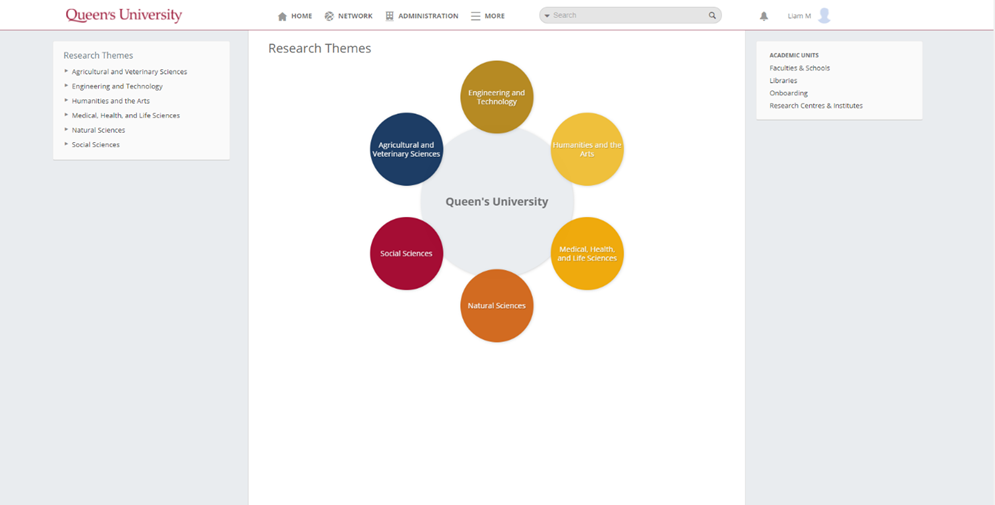
At Level 1 (Division), research is organized into six broad subject areas; Level 2 (Group) divides the divisions into disciplines that share the same broad methodology, knowledge domain and/or perspectives; lastly, Level 3 (Class) and Level 4 (Subclass) are increasingly finer dissections of research and development activities.
The following image illustrates this hierarchical relationship, with each Level 1 Division branching into an example Group, Class, and Subclass.
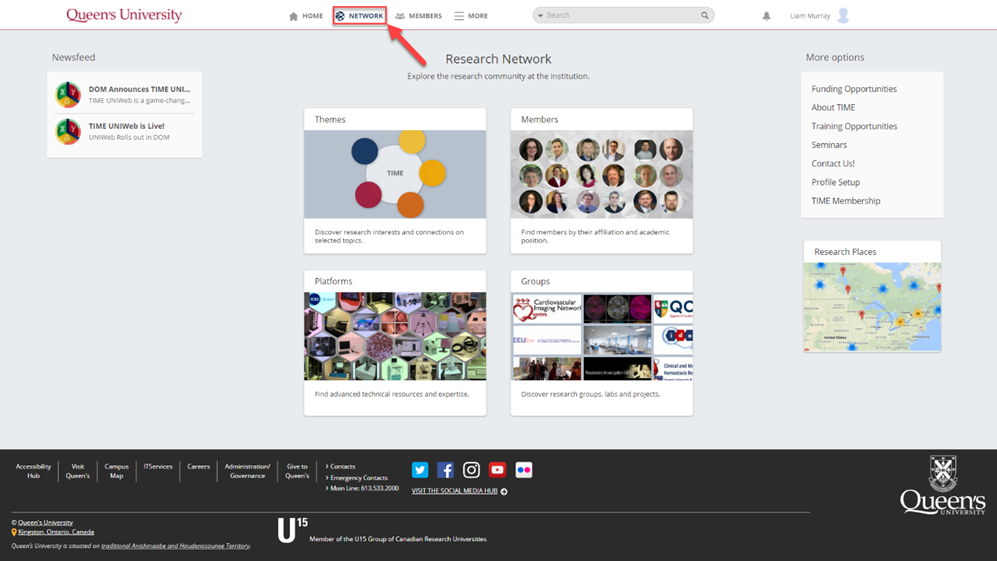
The Network
Learn what each tab at the top of the screen does and how to use them.
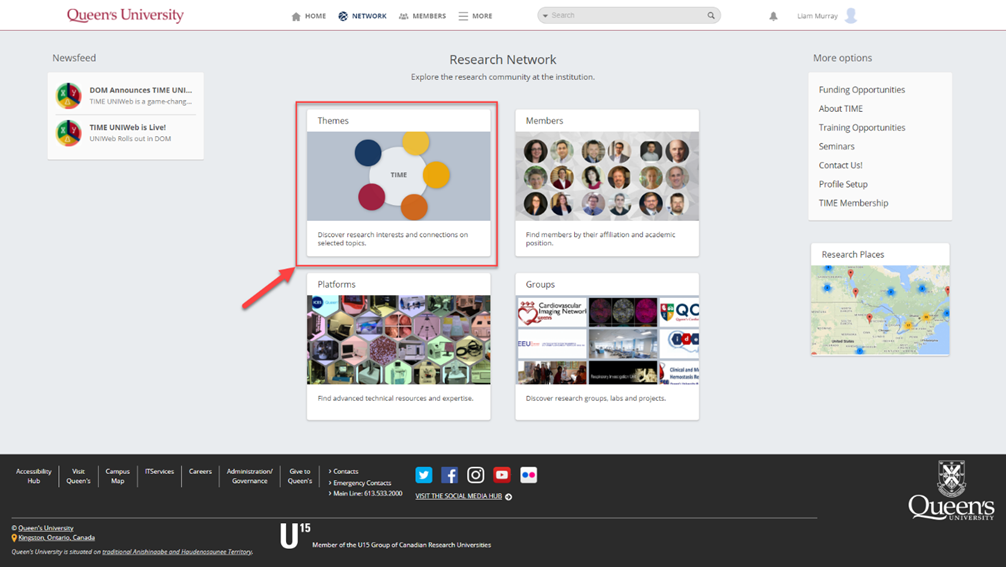
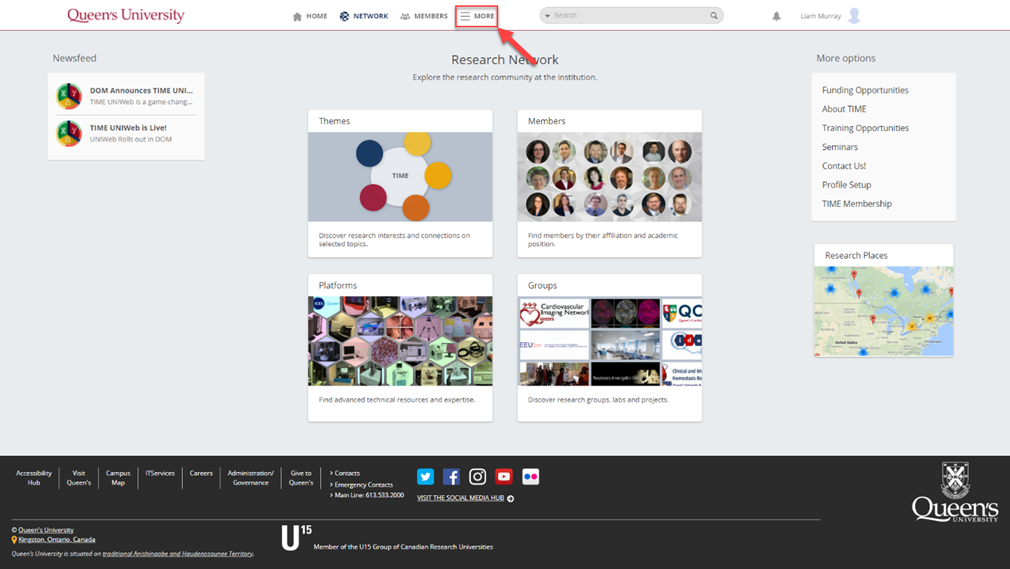
The Network page gives you quick access to view the research community. From the Network page, you have access to view research themes, members, platforms, groups and research places.
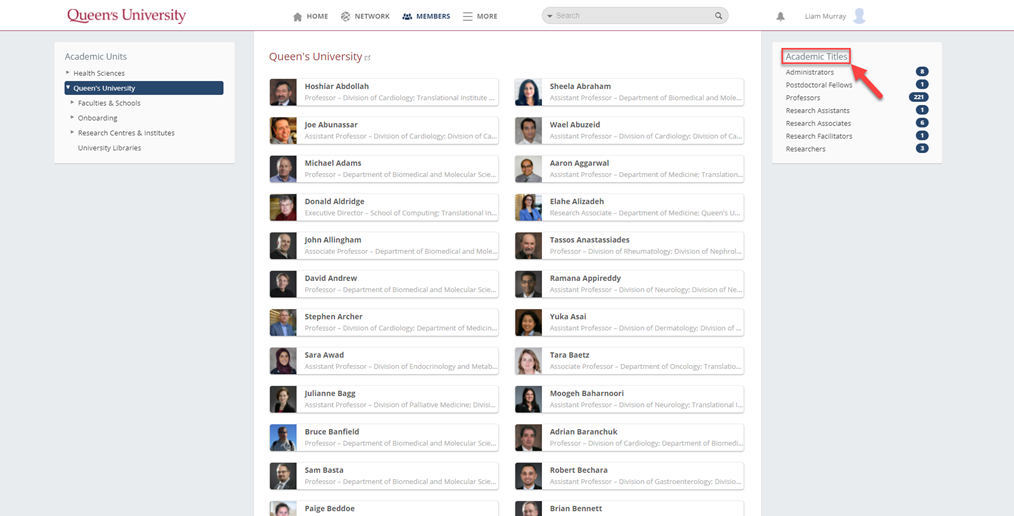
In the Members tab, you can search for members of the Queen's Research Discovery Network and view their profile. You can filter your search by Academic Units as well as Academic Titles.
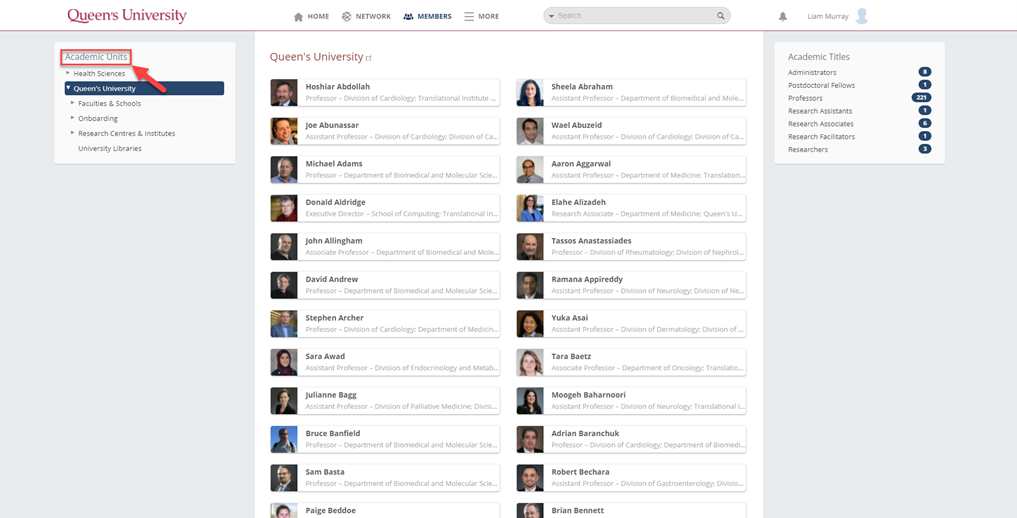
The Units link allows you to view all Units located on the Queen's Research Discovery Network, such as Research Centres and Institutes.
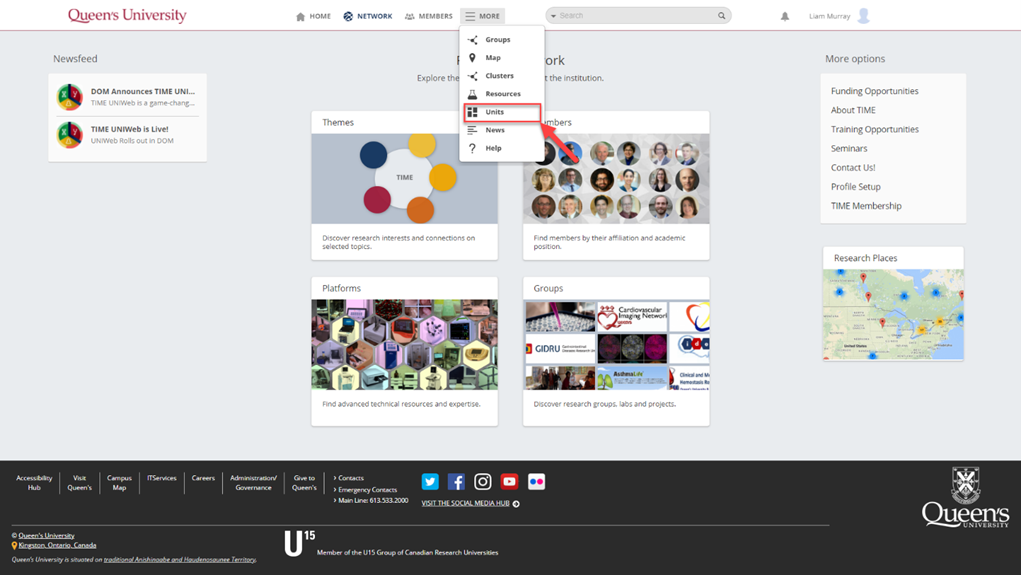
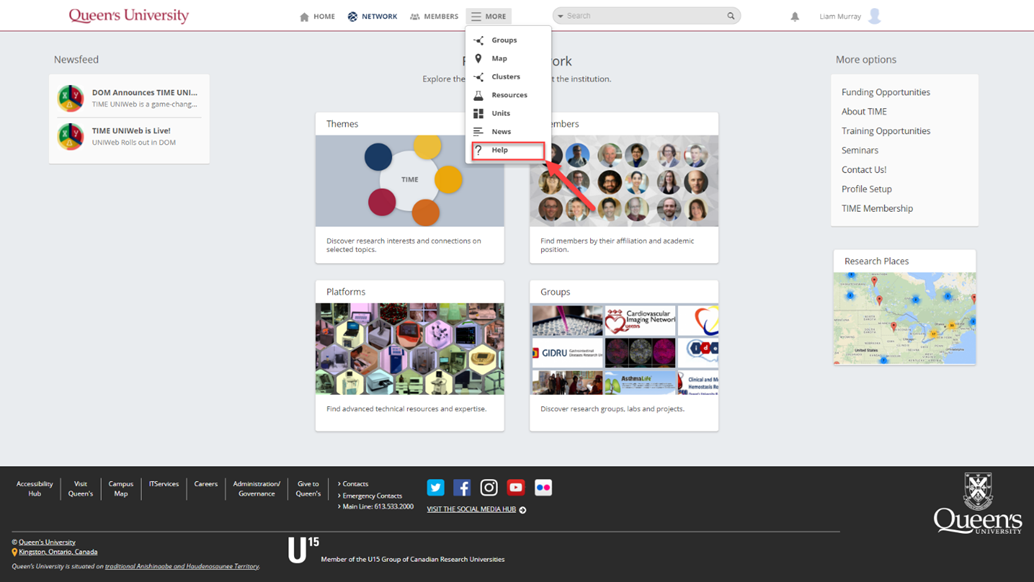
The More tab is another way to quickly access many branches of the Queen's Research Discovery Network, including Members, Groups, Resources, etc.
The News link directs you to a page listing all current news on the Queen's Research Discovery Network platform.

The Help link directs you to the Tutorials page, where you can view a growing selection of help videos.
Delegating Access to your Account
Account Delegation allows users of the Queen's Research Discovery Network to give each other access to their accounts. This can be especially helpful if you have staff who maintain your web profiles and/or CV, as delegated access will allow them to enter and edit data on your behalf.
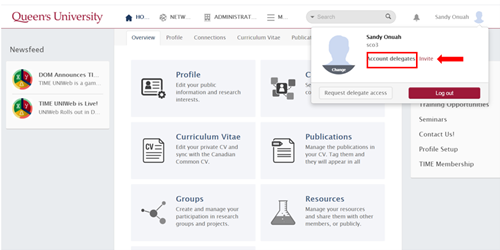
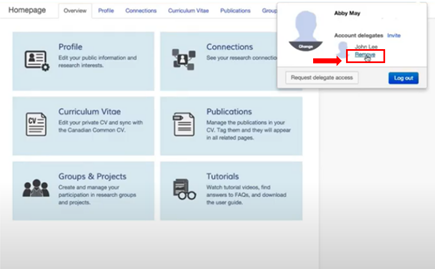
1. Select your name in the top-right corner of the screen.
2. Go to "Account Delegates" (where all the users who have access toy our account will be listed once added) and click "Invite".
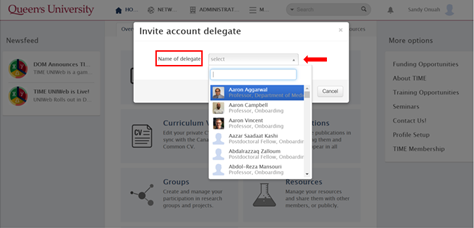
3. Use the "Name of Delegate" dropdown menu to select the person to whom you would like to grant access. Note: only people with active Queen's Research Discovery Network accounts will appear in this list. If someone is not showing in this list, they simply need to log in to the system to activate their account.
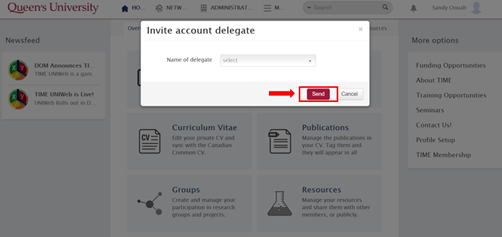
The selected delegate will receive an email notification of your invitation and will be prompted to either accept or decline it - once they do, you will receive a confirmation email.
3. Click "Send" to send the delegates an invitation to let them know you want them to have access to your account.
- Once the delegate(s) have responded, you will see a notification appear in your Notifications window (bell icon).
- Once the delegate(s) have approved, you will see their name(s) under "Account Delegates" when clicking your name in the top-right corner of the screen.
1. Click your name in the top right corner of the screen, then click the Remove link under the name of the person from whom you are removing access.
- When removing delegated access, the loss of access is immediate and the person will see a notification confirming this in their Queen's Research Discovery Network account.
- You can always re-establish the delegated access by repeating the "Invite" workflow.
Assisting on Another Account
Delegate access can be requested from another user. This section details how to request said access, and how to use it.
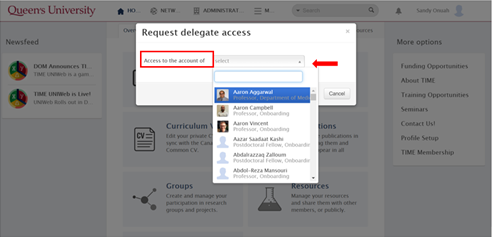
1. Click your name in the top-right corner of the screen.
2. Click "Request delegate access" to ask for access on another user's account.
3. Use the dropdown menu to locate the person from whom you are requesting access. Note: only people with active Queen's Research Discovery Network accounts will appear in this list - if someone is not showing in the list, they simply need to log in to the system to activate their account.
4. Click "Send" and they will receive a notification that you want access to their account.
- Once they have granted you permission, you will see a notification.
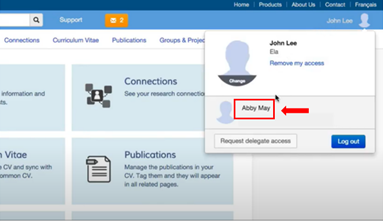
1. Click your name in the top-right corner of the screen.
2. Go to the list of names you have access to and click the username of the account you wish to enter. You will be immediately transferred to that account profile.
- You can check what account you are in by looking at the username in the top right corner.
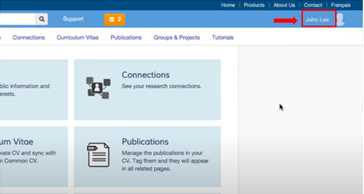
- To switch back, click your name in the top-right corner of the screen, then select your name from the list.
1. Click your name in the top-right corner of the screen.
2. Scroll to the account name(s) you wish to remove your access for and click "Remove".
- The user will receive a notification that you have removed your access to their account.